Tub Only or Tub-and-Chiller Kit: What Are You Actually Buying?
Learn the difference between a tub, a chiller-ready vessel, a matched kit, and an integrated cold plunge system before ordering.

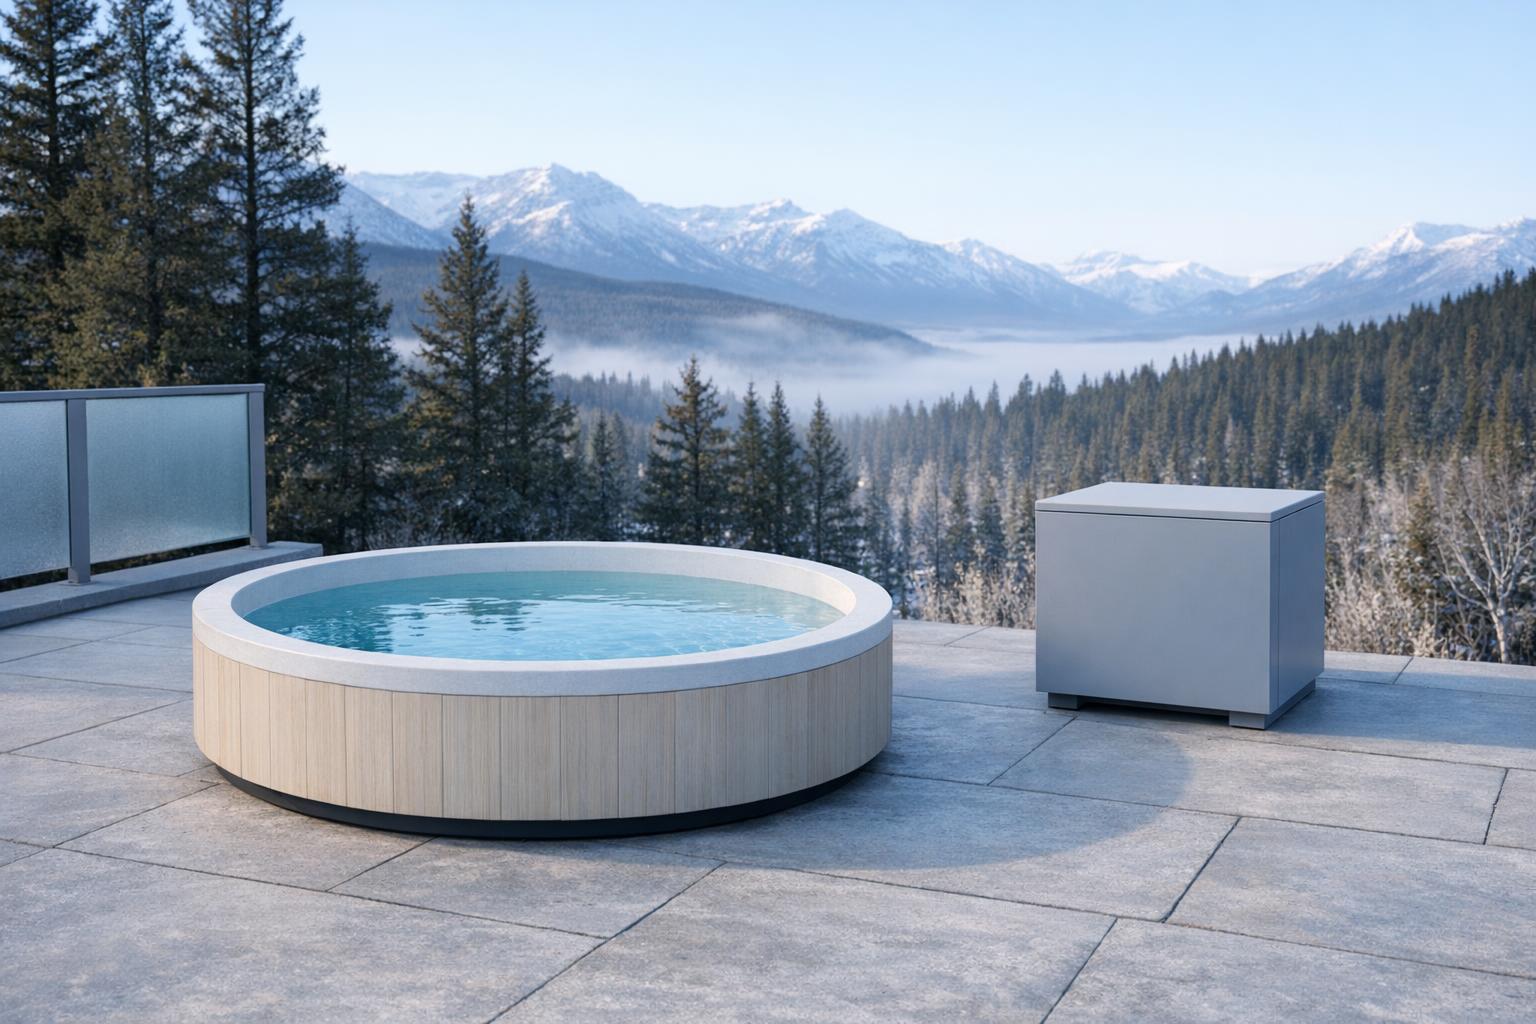
A tub holds the cold water. A chiller makes it cold and keeps it that way. A "kit" should give you both, but the word alone doesn't tell you which pump, hoses, filter or fittings are in the box. Here is how to read a bundle line by line, so you know what you are paying for and what you'll still need to buy.
Affiliate disclosureAs an Amazon Associate we earn from qualifying purchases made through links on this page. Commissions never change our ratings.
Separate four common package types
A tub-only purchase provides the vessel and whatever accessories its seller explicitly lists. It may have a drain, lid, or connection ports, but those features do not prove powered water flow is included. A chiller-ready tub usually indicates that connections are available for additional equipment. Treat that phrase as a starting point for compatibility questions, not a guarantee that any chiller will work.
A matched kit combines a tub and identified chiller, with connection hardware that should be listed. An integrated system places equipment within or alongside a purpose-designed enclosure. Integrated does not mean maintenance-free or installation-free. Plunge's All-In manual still specifies clearances, a dedicated electrical circuit, water-care obligations, and separate drain functions. The package format changes the arrangement, not the need to plan it. [2]
Audit the bundle line by line
Ask for each of these and mark it as included, optional, or unconfirmed:
- Models: tub model and chiller model.
- Flow: water flow pump arrangement and filter type.
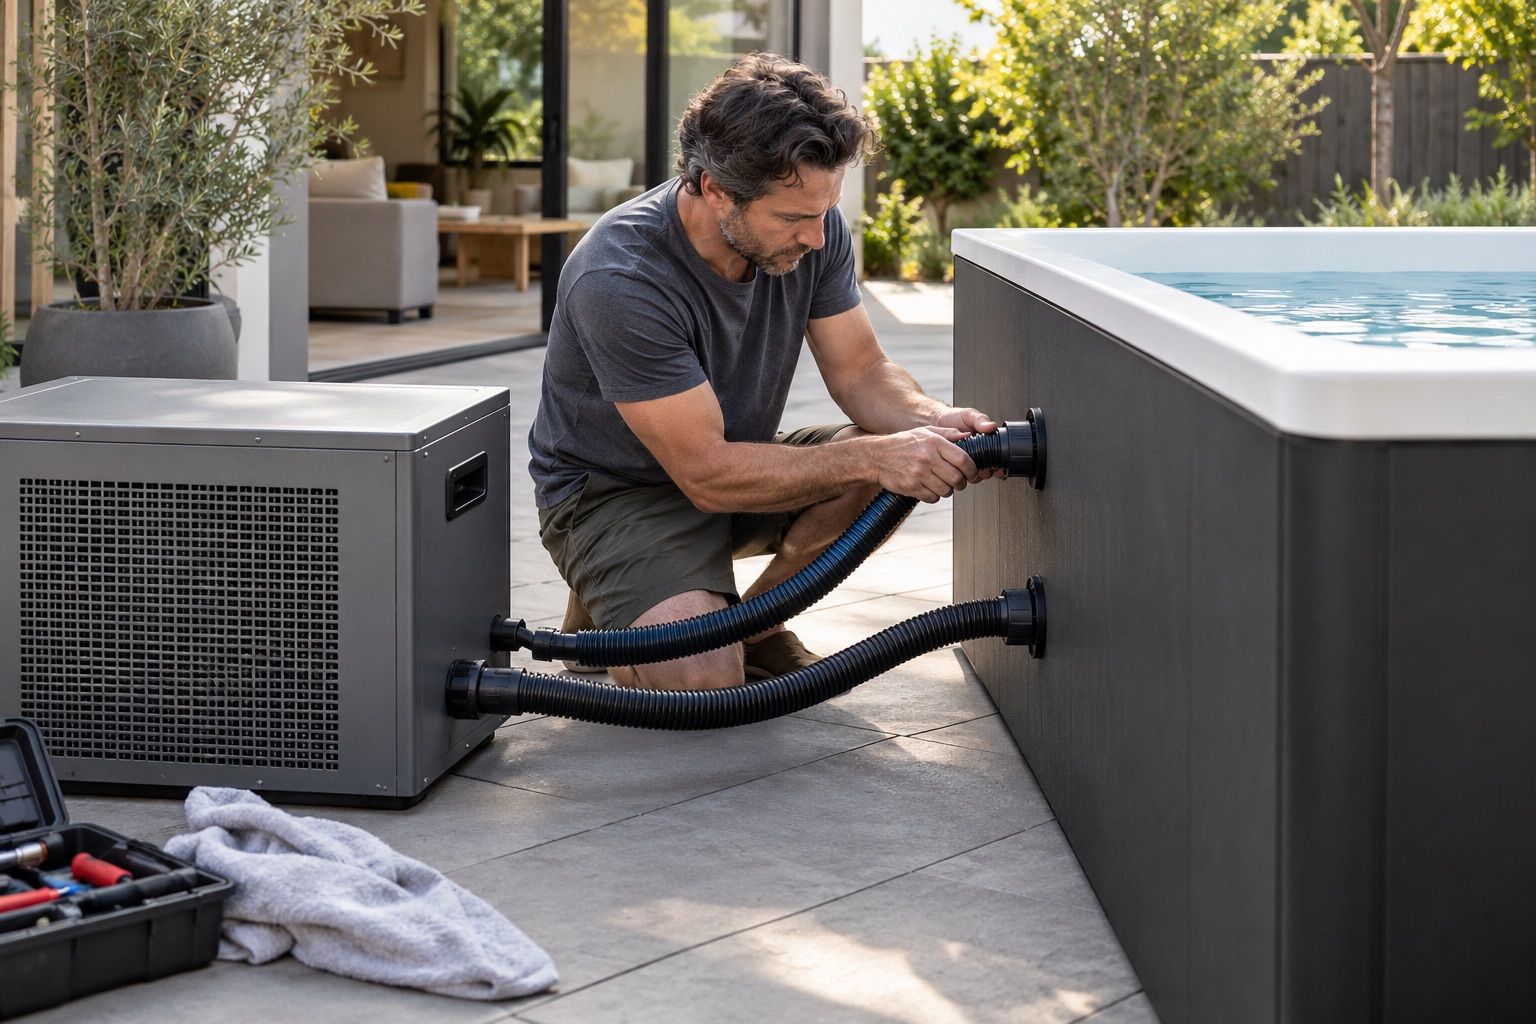
- Connections: hoses, couplings, seals and isolation valves.
- Extras: lid and any filling accessories.
Check whether the bundle has multiple electrical plugs and whether the seller supplies one combined manual or separate manuals. A package with a pump inside the chiller differs from one needing an external pump.
Do not assume adapters are interchangeable because their threads look similar in photographs. Confirm compatibility through the equipment maker's documentation or written support. Hose length also matters: a supplied hose may be suitable for the illustrated layout but not for the route around your patio. The accessory checklist helps separate necessary fittings from extras that can wait until the installation is measured.
Check the chiller class against the tub volume, too. Our 1 HP water chiller guide shows which pairings the makers use, from 1/3 HP on 100-gallon tubs to 1 HP on the big ovals.
Compare the work rather than only the purchase price
A tub used without a chiller avoids the chiller's electrical installation, but you still need a realistic plan for water, cleaning, and any ice you intend to supply. Decide where those supplies will come from and how they reach the tub. Do not turn a promotional picture containing ice into an assumed running-cost calculation. Actual consumption depends on conditions and usage that a listing cannot establish for you.
A kit introduces filter care, water flow checks, equipment ventilation, and electrical requirements. Its thermostat does not remove the need to inspect the installation. Put both options through the same worksheet: delivered equipment, site preparation, required supplies, routine work, and storage. Compare what each option demands from your household, rather than declaring one universally cheaper or easier.

Check the site's electrical and ventilation requirements
Read the manual for the exact chiller variation. Plunge's Evolve Standard guide specifies a dedicated 120V 15 amp circuit, while its Evolve Pro guide specifies a dedicated 120V 20 amp circuit. Those are examples of differences within one manufacturer's range, not recommendations for unrelated products. Both guides reject extension-cord use. Have a qualified electrician assess the selected equipment and local requirements before committing to the installation. [1] [3]
Ventilation is similarly specific. The Pro manual describes space for exhausting hot air; the Standard guide also reserves access for filter servicing. Putting a separate chiller in a decorative box can defeat the very clearances the package needs. Our water chiller basics explains why the surrounding space belongs in the comparison, even when the tub itself fits comfortably.
| Chiller | Documented circuit | Extension cord |
|---|---|---|
| Evolve Standard | Dedicated 120V 15 amp | Not to be used |
| Evolve Pro | Dedicated 120V 20 amp | Not to be used |
| Other brands | Read the exact manual | Have an electrician assess |
Understand the responsibility split
A matched kit from one supplier can provide a clearer support route, but verify who handles each component. Ask what happens if the tub leaks, a hose fitting fails, or the chiller stops circulating. Does one support team diagnose the whole package, or must you coordinate several manufacturers? Keep invoices, serial numbers, and the written compatibility confirmation together so the equipment can be identified later.
A separately assembled system places more compatibility work on the buyer. Avoid improvised modifications to electrical equipment, sealed refrigeration components, or unsupported plumbing connections. The Evolve Standard and Pro manuals even label their connection arrangements differently, which is a useful warning against relying on memory from another system. Follow the actual diagram for the delivered model rather than treating lettered ports as an industry standard. [1] [3]
Leave room for changing your mind
If you intend to buy a tub now and add a chiller later, identify a supported upgrade path before paying for the tub. Obtain the port specification, required hardware, and any restrictions on placement or water treatment. An unsupported promise that it can be upgraded later may leave you replacing more than the chiller. Also establish where the future equipment would physically sit.
For a final decision, choose the simplest complete arrangement that fits your space and maintenance capacity. Use our tub selection guide to check the vessel itself, then return to the package audit. Exclude standalone chillers from a tub comparison unless they are clearly discussed as components. A good deal is a complete, documented solution to your installation needs, not merely the lowest number beside an ambiguous product title.
Our rated picks
The three best-rated models of our best cold plunge tubs with chiller ranking, from buyer reviews and the listed specs.

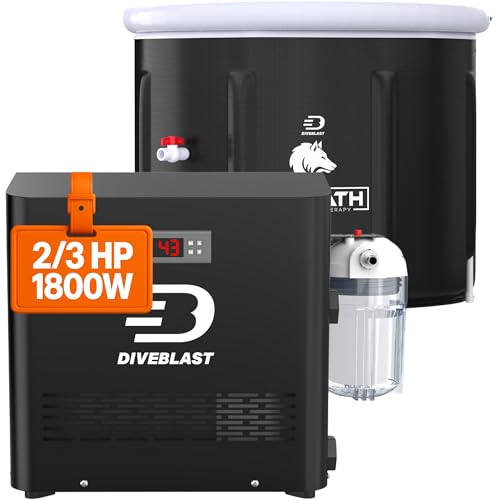

Product images: Amazon listings
Sources and further reading
- Manual and Setup Guide for the Plunge Evolve Standard Chiller (manufacturer documentation):
Do not use an extension cord with your Evolve Standard Chiller.
- Manual and Setup Guide for the Residential Plunge All-In (manufacturer documentation):
Place the Plunge on a solid, level, waterproof surface.
- Manual and Setup Guide for the Plunge Evolve Pro Chiller (manufacturer documentation):
The chiller needs space to exhaust hot air.