Water Chiller Basics for Cold Plunge Buyers
Understand chiller placement, water flow, connections, electrical requirements, and maintenance without mistaking a chiller for a complete tub.

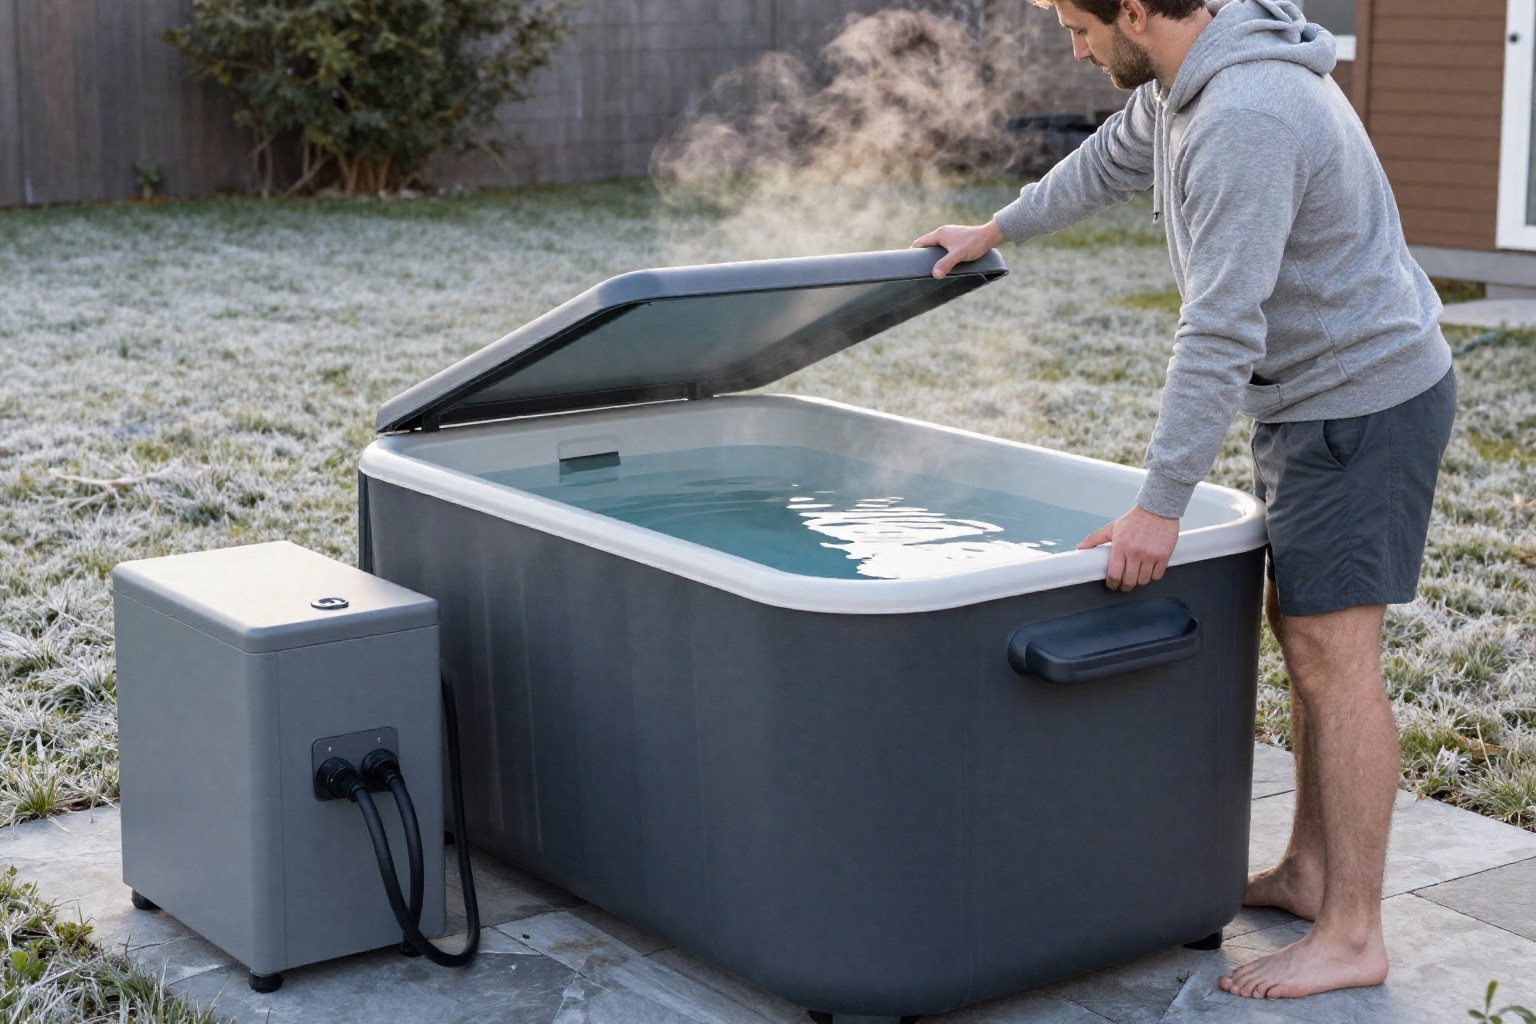
The chiller is the part that makes a daily plunge easy, and the part most likely to disappoint if it is squeezed into the wrong corner. Before you compare horsepower, look at the whole system: the tub, the water path, the filter, the outlet and the air around the unit. This guide shows you what to check, from the listing and the manual.
Affiliate disclosureAs an Amazon Associate we earn from qualifying purchases made through links on this page. Commissions never change our ratings.
Start with a complete system diagram
Sketch the tub, every hose, the chiller, and any separate pump or filter. Add arrows only after reading the manufacturer's connection diagram. Label the actual ports and valves rather than assuming that inlet and outlet positions are obvious. Confirm which components are built into the chiller and which are sold separately. A listing for a chiller alone does not supply a vessel simply because a tub appears in the marketing image.
Keep the diagram beside the manuals during assembly. Plunge's Evolve Standard guide identifies connection A with the jets and connection B with the drain, while the Pro instructions describe their own connection arrangement. This is precisely why instructions from a visually similar machine are not a substitute for the delivered model's documentation. Our package guide helps establish what should be present before assembly starts. [1] [3]
Give the equipment room to work
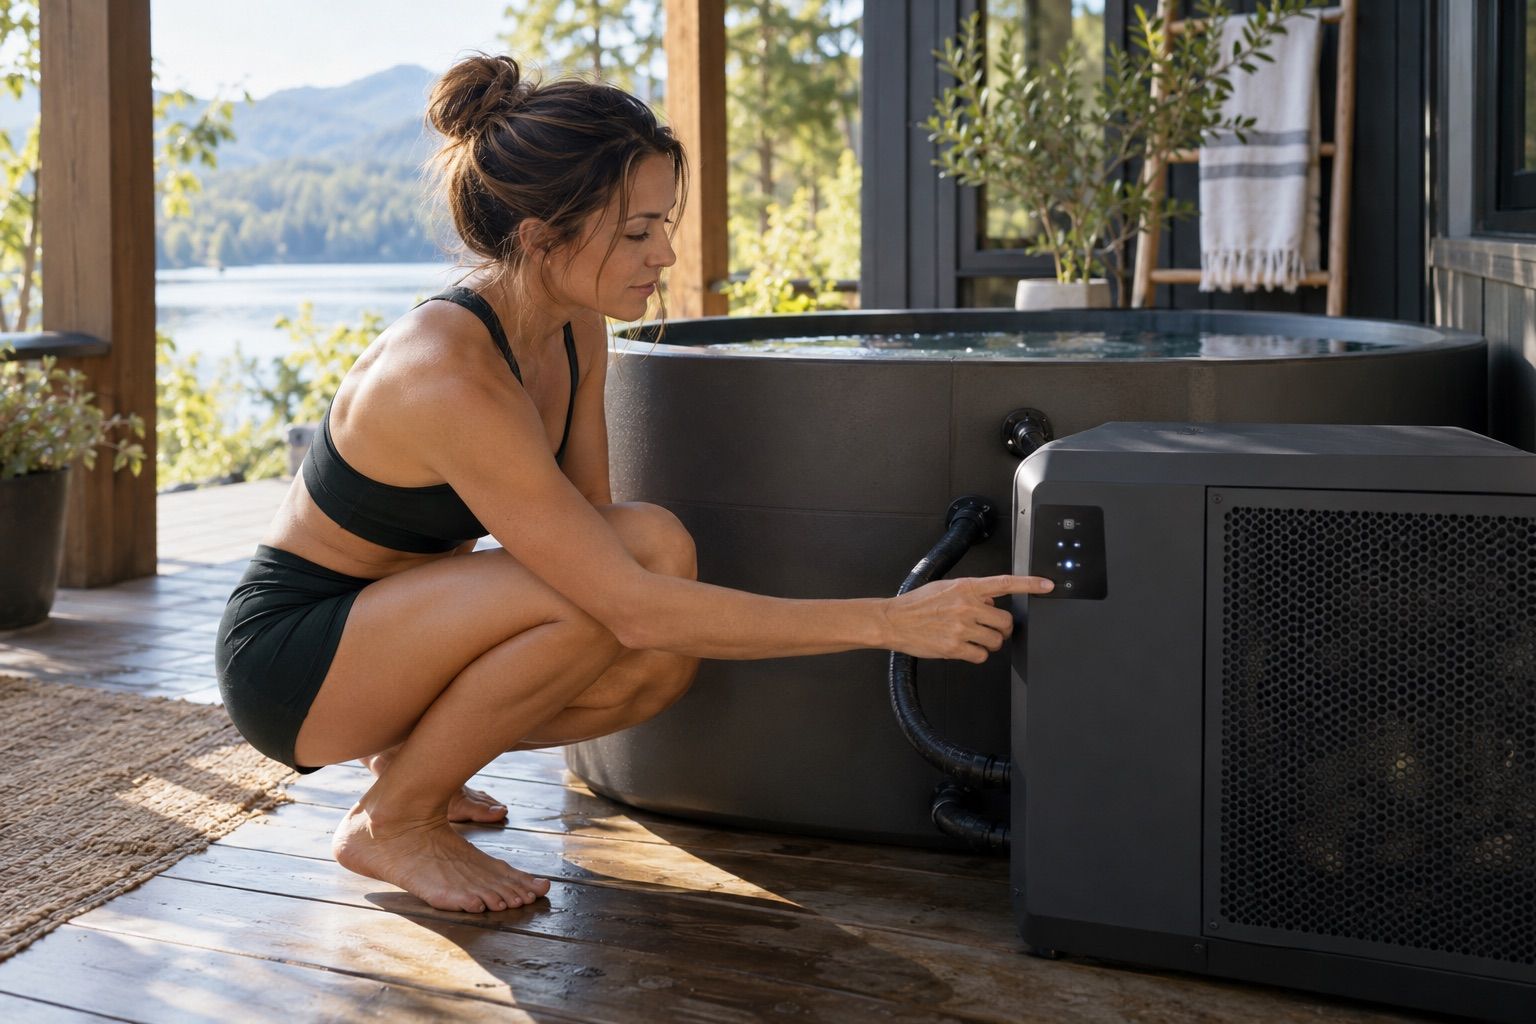
The chiller's enclosure is not its installation footprint. Its required footprint also includes the manufacturer-specified space for air movement, service access, and supported hose routing. The Evolve Pro manual explicitly states that the chiller needs space to exhaust hot air. The Standard manual also discusses access for an easy filter change. These are functional requirements, not suggestions to discard when a corner looks crowded. [1] [3]
Look for fences, planters, furniture, and stored garden tools that may migrate into the clearance zone after installation. A location that is clear on delivery day can become obstructed later. Do not build a decorative cabinet around the unit without written approval for the resulting arrangement. If the proposed space cannot accommodate the manual's clearances, change the layout or choose equipment that is documented for that space.
Read electrical requirements before ordering
Record the supply voltage, required circuit, plug arrangement, and environmental restrictions from the precise manual. Ask an electrician to evaluate the circuit and location rather than judging suitability from the fact that a plug fits an existing outlet. The Standard and Pro guides specify different circuit requirements and both say not to use an extension cord. A short distance to the nearest outlet does not resolve those questions. [1] [3]
Keep electrical planning separate from hose planning. Do not create a route that puts plugs, controls, or connections where water will be discharged or where a hose can pull on them. Follow the manufacturer's electrical separation and protective-device instructions along with applicable local requirements. This article is a purchasing checklist, not wiring instructions; installation changes belong with a qualified professional.

Treat flow as a documented requirement
Before powering equipment, follow the specified filling, valve-position, and startup sequence. Do not assume an empty display or unfamiliar pump sound can be fixed by repeatedly restarting the machine. The Standard guide says to check that its valves are open and points to a dedicated air-purge procedure if water is not coming from the jets. That instruction is specific to the system, not permission to invent a universal purge method. [1]
Inspect accessible hoses for awkward bends and verify that couplings are seated as described in the manual. Plunge's connection instructions repeatedly call for correctly seated O-rings, hand tightening, and avoiding cross-threading. If a connection does not turn smoothly, stop and identify the mismatch rather than applying more force. Keep seals and hose model numbers in your equipment record for later replacement. [1] [3]
Compare performance claims on equal terms
A cooling claim is only useful when its conditions are supplied. Ask what was used for:
- Water volume
- Starting conditions
- Ambient environment
- Cover arrangement
- Equipment configuration
Do not compare a laboratory-style claim for one product with an unexplained headline for another. Nor should the electrical circuit rating be treated as a measured running-cost figure. Those describe different things and may answer different buying questions.
If information is absent, mark it as unknown. Avoid creating a precise cooling-time estimate from a photograph, an enclosure size, or a horsepower label alone. Favor clear documentation of supported tub combinations and installation limits. For actual electricity budgeting after installation, use a measurement method appropriate to the equipment and approved by a qualified professional; do not add an unsuitable plug-in meter to a wet-area setup.
Wondering whether you need the bigger compressor? Our guide to the 1 HP water chiller for a cold plunge lines up horsepower, watts, BTU and the tub volumes the makers pair with each class.
Plan service before the first fill
Locate the filter housing and determine how it is opened, isolated, and serviced according to the manual. Make sure there is physical room for the task with the tub full and all hoses installed. Plunge's residential Evolve Standard care guide warns that neglected filter and hair-catch maintenance can reduce flow and damage equipment. Follow the schedule for your own system rather than copying an interval from another model. [4]
Finally, document how the chiller and connected lines are drained for storage or winterization. Emptying the visible tub is not evidence that every internal passage is empty. Read the maintenance planning guide and placement checklist together before choosing a final location. A well-chosen chiller is supported by an accessible, documented installation, not hidden in a corner and forgotten.
| Area | What to confirm |
|---|---|
| System diagram | Actual ports and valves; what is built in or sold separately |
| Clearance | Air movement, service access, hose routing |
| Electrical | Voltage, required circuit, no extension cord |
| Flow | Filling, valve-position and startup sequence |
| Performance claims | Conditions behind any cooling claim |
| Service | Filter access and draining for storage |
Our rated picks
The three best-rated models of our best cold plunge tubs with chiller ranking, from buyer reviews and the listed specs.

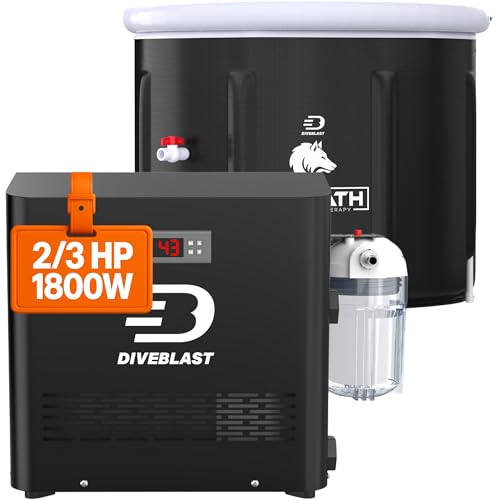

Product images: Amazon listings
Sources and further reading
- Manual and Setup Guide for the Plunge Evolve Standard Chiller (manufacturer documentation):
Do not use an extension cord with your Evolve Standard Chiller.
- Manual and Setup Guide for the Plunge Evolve Pro Chiller (manufacturer documentation):
The chiller needs space to exhaust hot air.
- Caring For Your Plunge Evolve Tub and Standard Chiller (manufacturer documentation):
These recommendations are for residential use only.